 RightFont
Help center
Your first hour with RightFont.
Install RightFont, bring in your fonts, find the right one and connect your design apps.
1Install
Download RightFont and drag it into your Applications folder. Every feature is yours to try for 15 days.
Download2Coming from an earlier version
Open the libraries you made with earlier versions: their sets, tags, stars and notes are all there. The old app’s files are read, never changed, so you can switch back at any time.
3Bring in your fonts
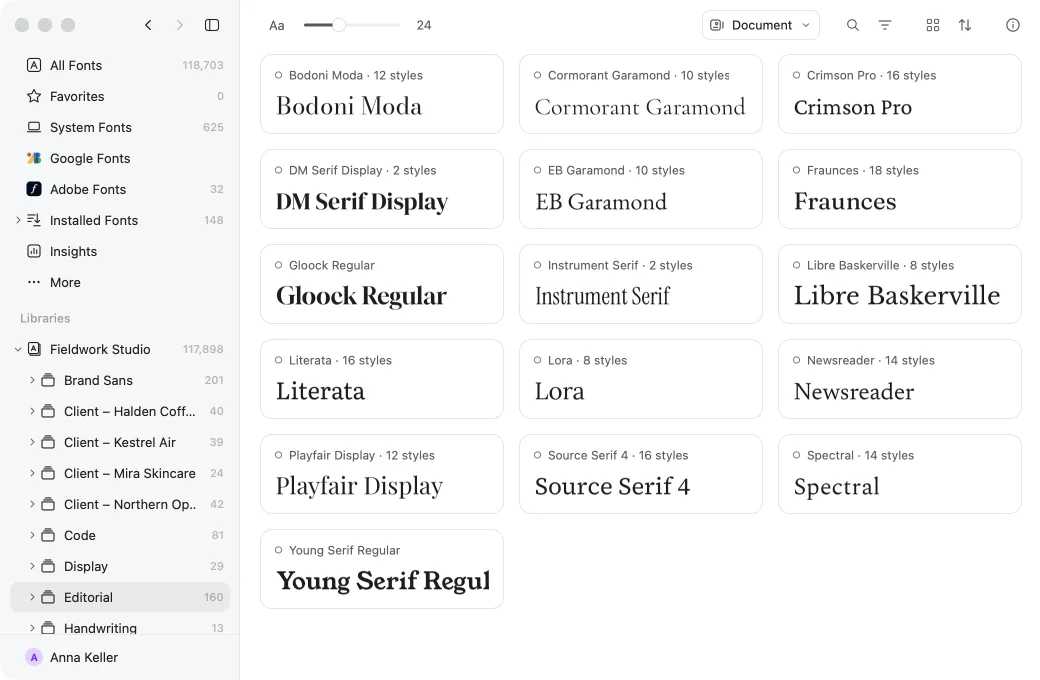
Drop a folder on Libraries in the sidebar. Use it in place, leaving your files exactly where they are, or copy it into a new library package. Google Fonts and the fonts already on your computer are there from the start.
| Add Library… | ⌥⌘O |
|---|---|
| New Library… | ⌘N |
4Find the right font
Type your own words into the preview field, set the size, and narrow the library with search and filters. Switch between Grid and List to see more fonts at once or more of each.
| Search your fonts | ⌘F |
|---|---|
| Show or hide filters | ⇧⌘F |
| Switch between Grid and List | ⌘1or⌘2 |
| Preview the selection up close | Space |
5Try fonts in your design
Turn on the Photoshop, Illustrator, InDesign or Sketch plugin (in Figma, run the RightFont plugin from Figma Community), select text in your design, and choose Preview in Your Design: every font is set in your layout, next to the original.
How Preview in Your Design works6Put fonts to work
Activate the fonts you need, or let RightFont activate missing fonts when a document opens.
| Activate | ⌘R |
|---|---|
| Deactivate | ⇧⌘R |
Write to support@rightfontapp.com. Someone on the RightFont team reads every message.