Edit font preview text
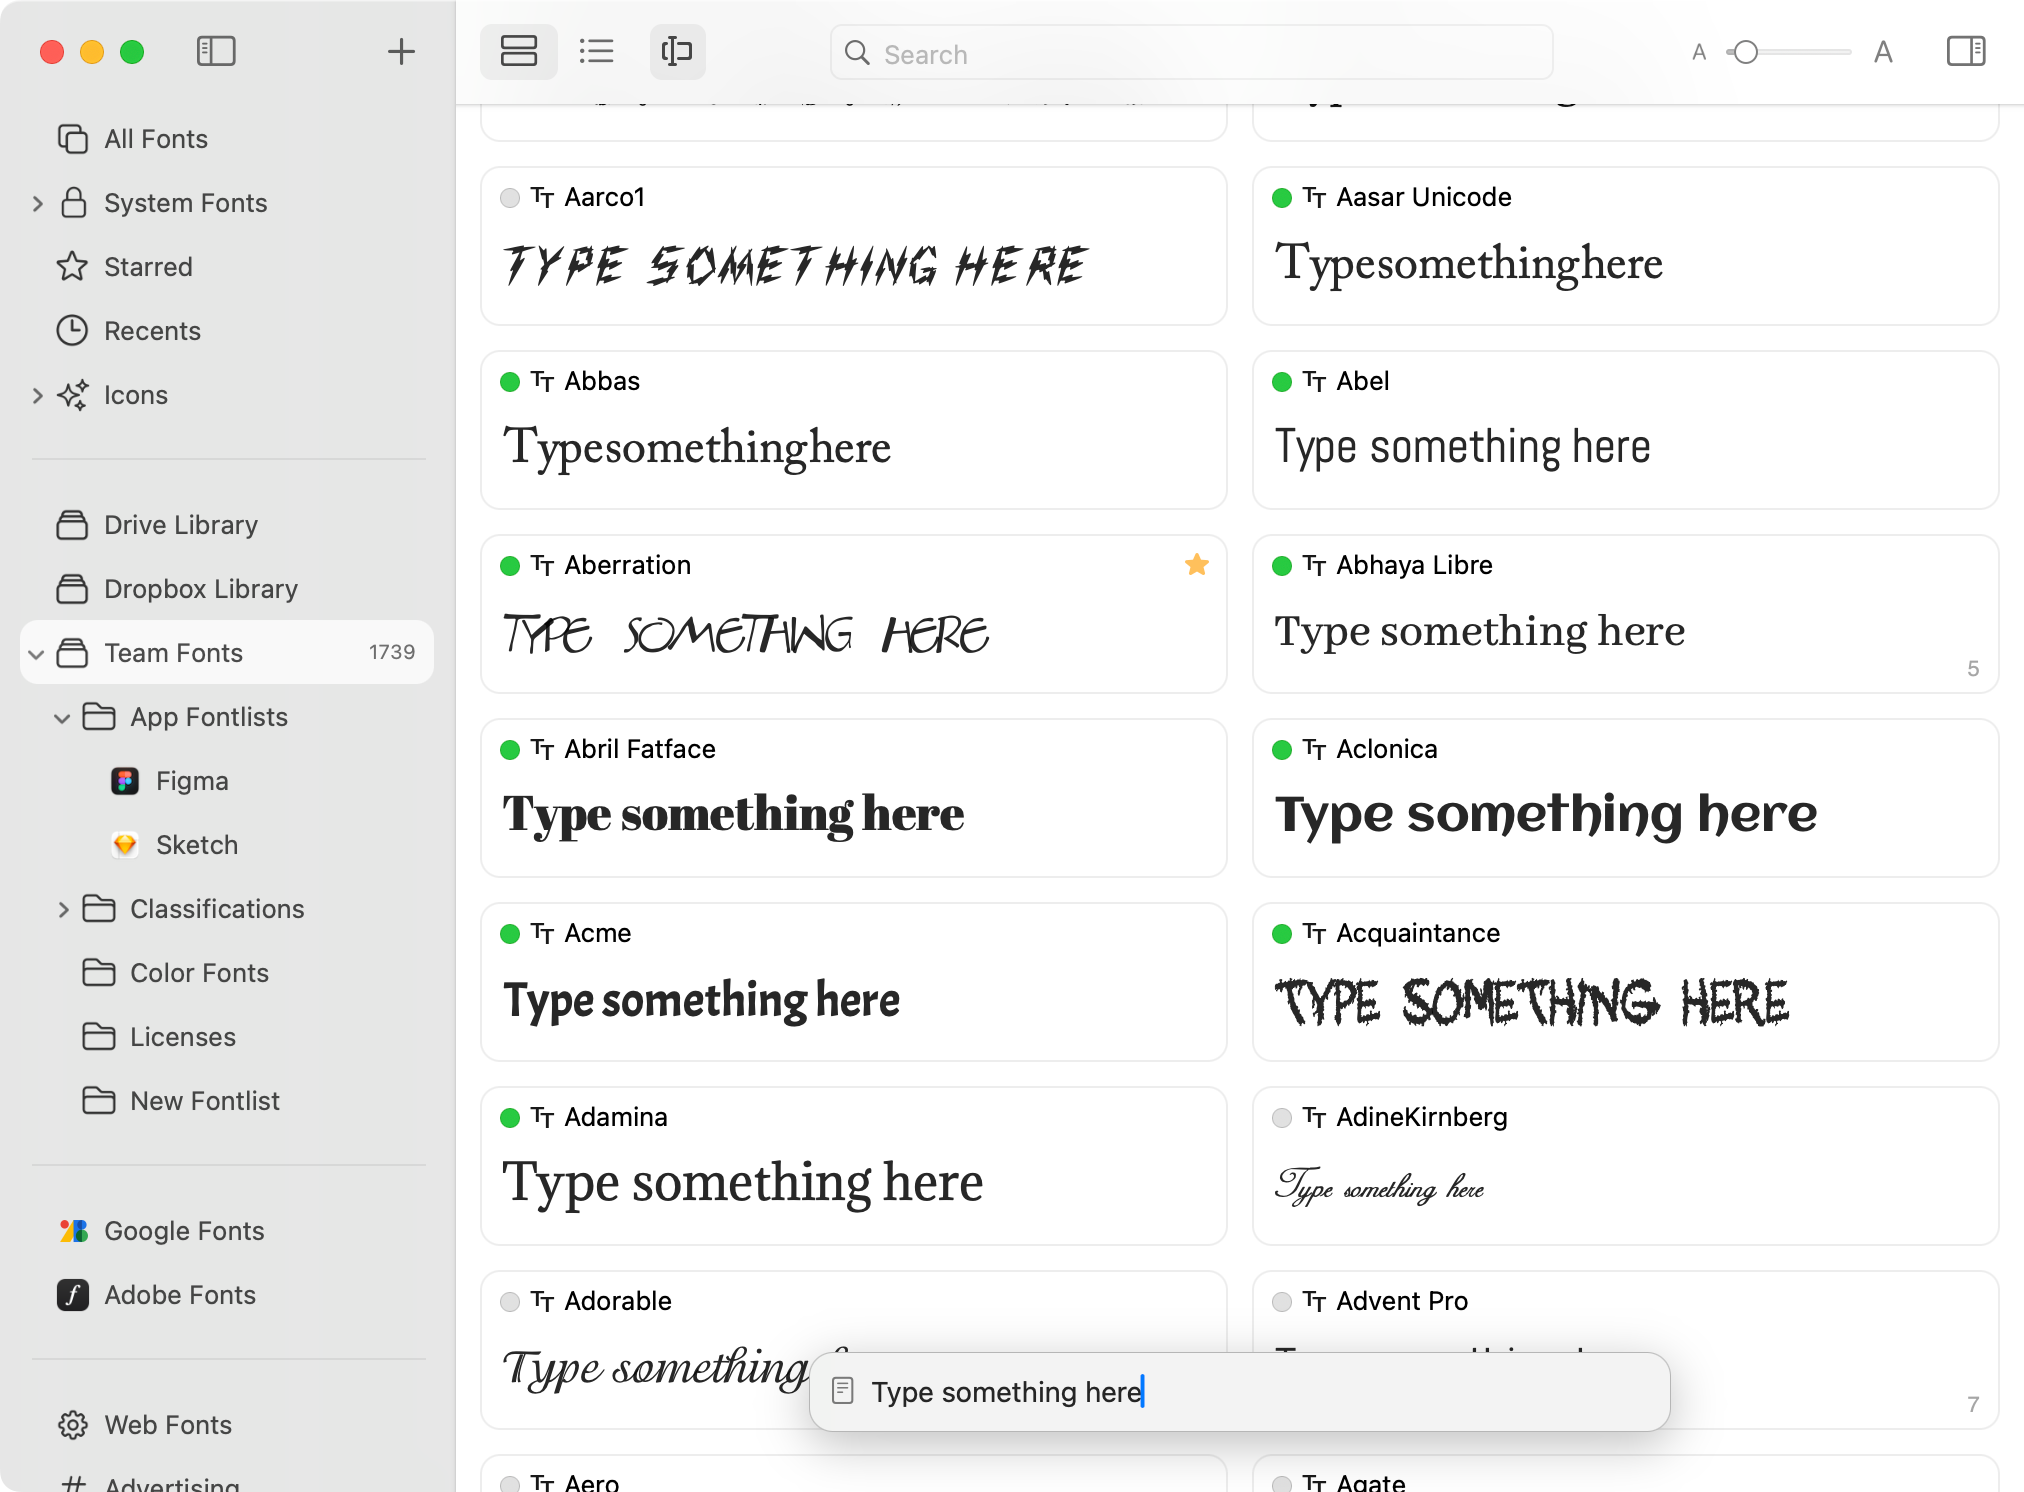
RightFont lets you preview fonts in real time without activating them. Simply enter custom text in the preview field to instantly see how different fonts appear across your font library.
You can also use preview presets to quickly switch between commonly used sample texts.
Change the Preview Text
- In RightFont, enable the preview text editor from the toolbar if it is hidden.
Tip: Press Command-E to quickly show or hide the preview editor.
- Type your text in the preview field.
The font list updates automatically as you type, allowing you to compare fonts instantly.
Use Preview Presets
Below the preview editor is a list of built-in preview presets, including numbers, uppercase letters, lowercase letters, words, symbols, and multilingual samples.
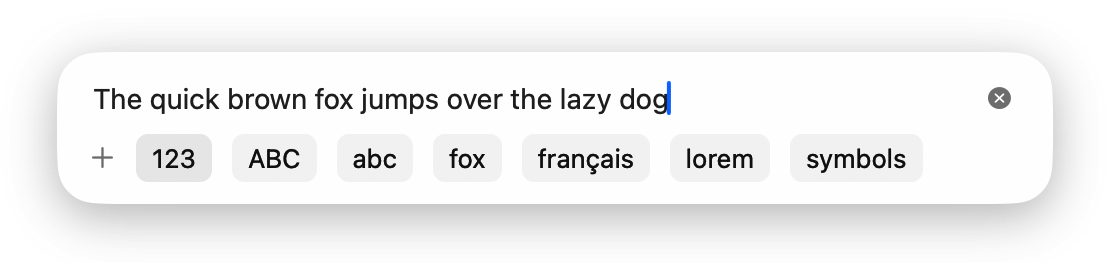
Click a preset to instantly switch the preview text and evaluate fonts in different scenarios, such as:
- Headings
- Body text
- Numbers
- Symbols
- International characters
You can fully customize the preset list by creating your own presets, editing existing ones, or deleting presets you no longer need. This allows you to build a personalized preview workflow tailored to your typography and design projects.
Create Custom Preview Presets
You can create your own preview presets for frequently used sample text.
- Click the + button below the preview editor.
- Enter a preset name and preview text.
- Click Save.
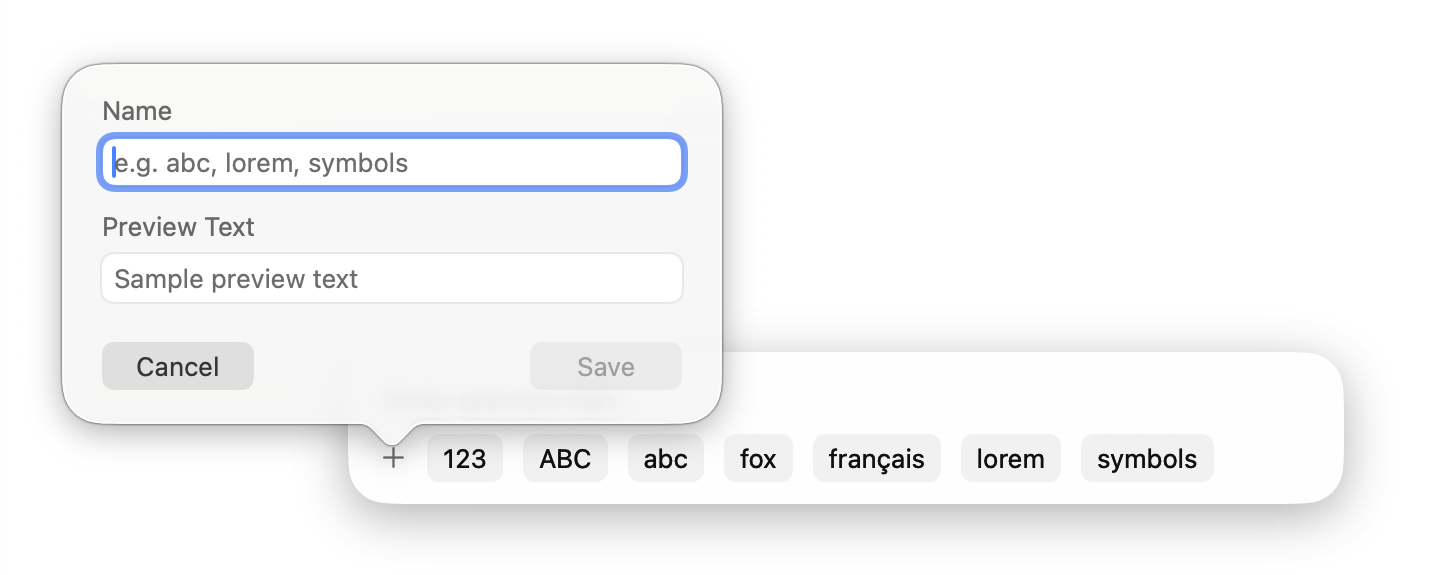
The new preset will appear in the preset list for quick access.
Edit or Delete Presets
To manage an existing preset:
- Right-click a preset in the preset list.
- Choose Edit or Delete from the context menu.
This allows you to customize your preview workflow and keep commonly used text samples easily accessible.