Auto-activate missing fonts in supported apps
Missing fonts in a design document can disrupt your workflow, affect the appearance of your designs, and create collaboration issues across teams. Manually locating and activating fonts one by one is often slow and inefficient.
RightFont solves this problem with automatic font activation.
Unlike other solutions that rely on additional plugins, RightFont integrates directly with popular design applications, including Adobe Creative Cloud apps, Sketch, Affinity Designer, and more.
When you open a document containing missing fonts, RightFont can automatically activate the required fonts from your libraries, helping you continue working without interruption.
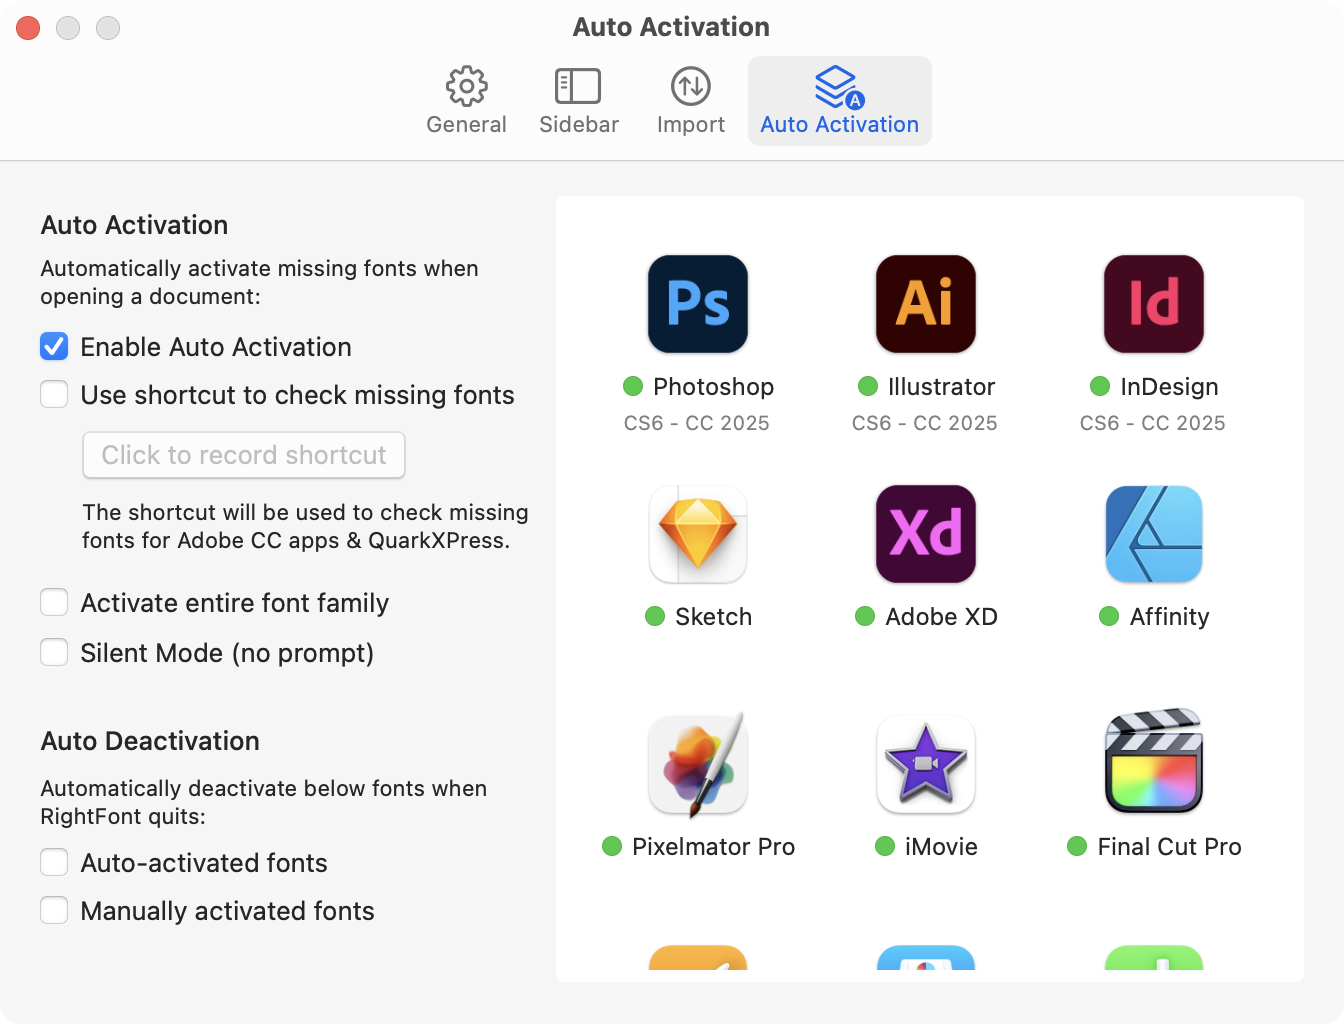
Turn on Auto Activation
- Open the Settings window in RightFont.
- Navigate to the Auto Activation section.
- You will see a list of supported apps installed on your computer.
- Click an app icon to enable or disable auto activation for that app.
Once enabled, RightFont will automatically activate missing fonts whenever you open supported documents in those applications.
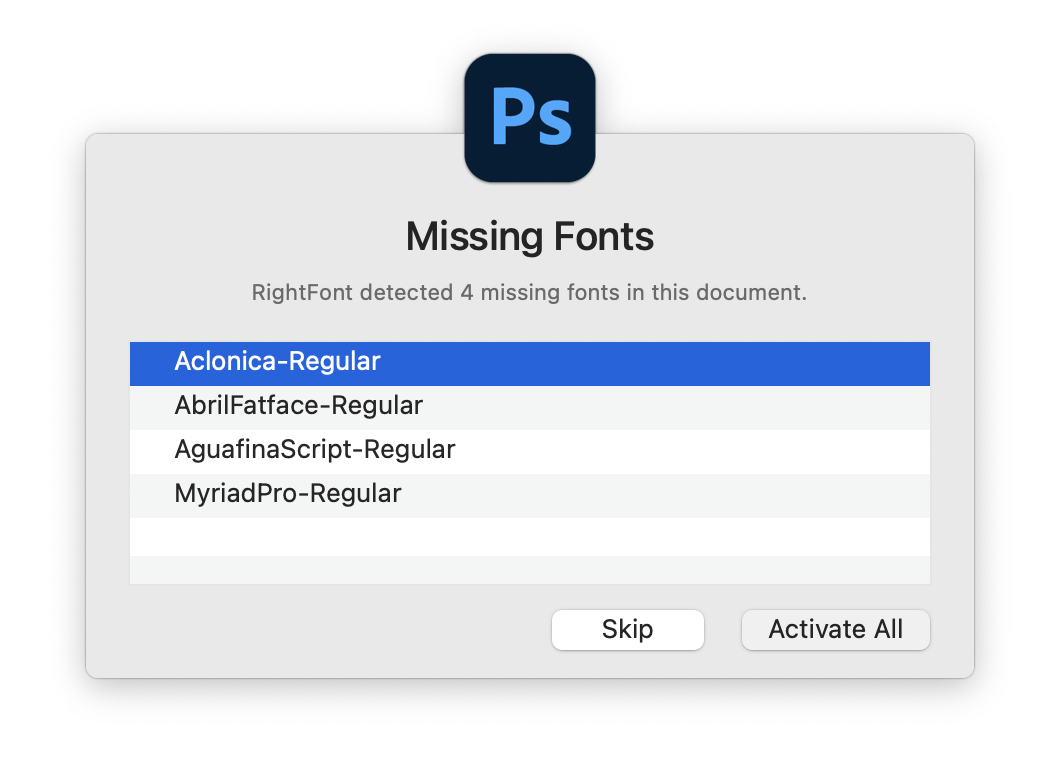
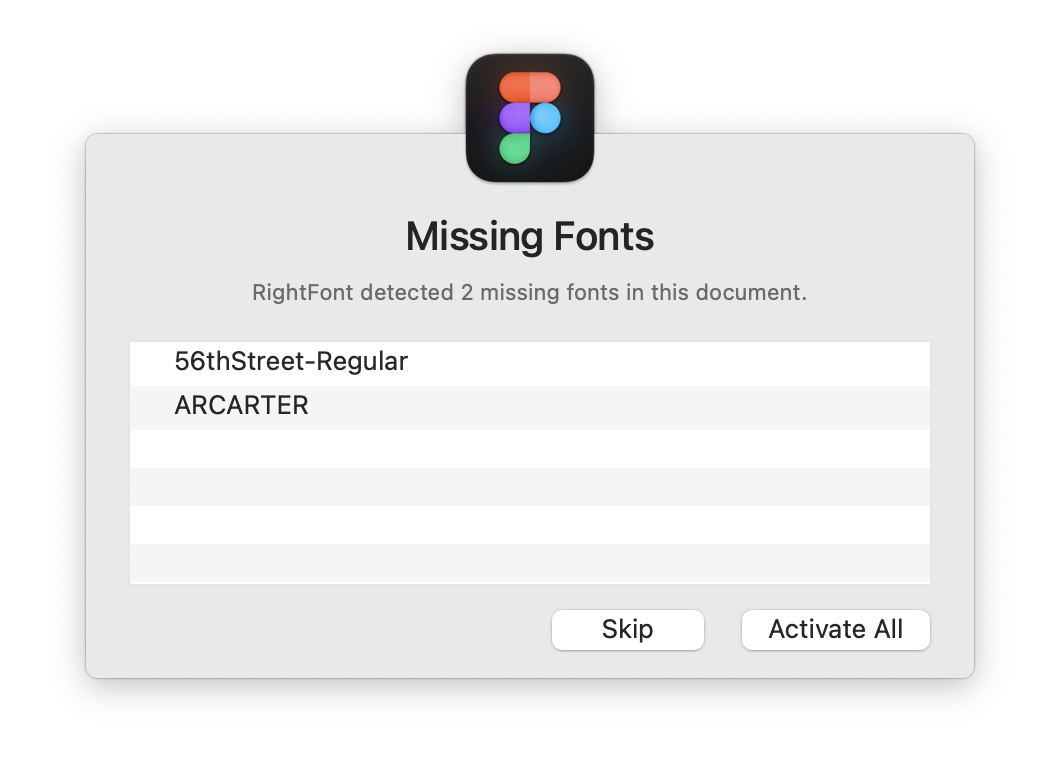
From now on, whenever you open a document with missing fonts, RightFont will display a Missing Fonts dialog. You can choose to activate all missing fonts immediately or skip activation for the moment.
If you prefer a more seamless workflow, you can enable Silent Mode in the Auto Activation settings. When Silent Mode is enabled, RightFont will automatically activate missing fonts in the background without showing the dialog.
How to activate missing fonts in Figma
In order to activate missing fonts in Figma files using RightFont, you'll need to install the RightFont plugin in Figma. Here's a step-by-step guide on how to do it:
- Install the RightFont plugin from the Figma Community.
- Once the plugin is installed, open a Figma file that contains text layers with missing fonts.
- Run the RightFont plugin, then click the Activate All button.
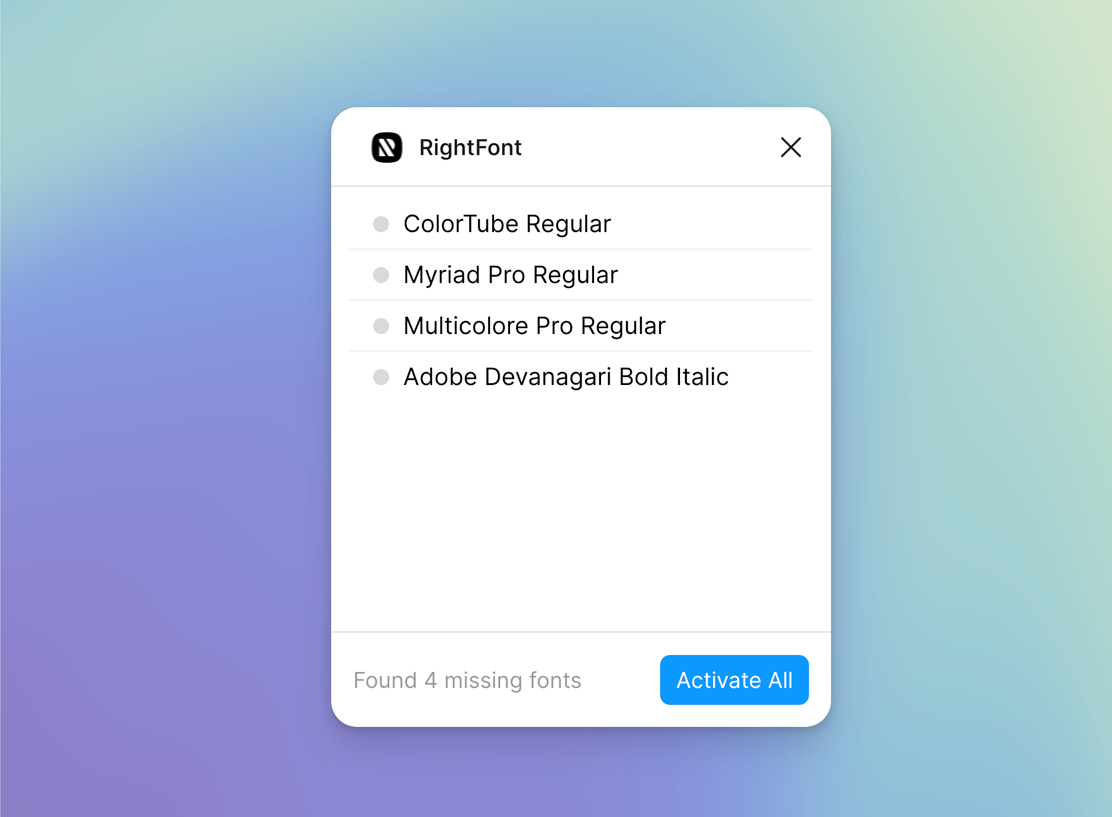
- When the web page opens, a prompt will appear, asking you to open RightFont. Click on the prompt to launch RightFont.
- RightFont will present you a Missing Fonts dialog, click Activate All to activate the listed fonts.
Important: Try to reload the Figma browser tab if the activated fonts don't load properly in your Figma file.
Not working in Adobe apps?
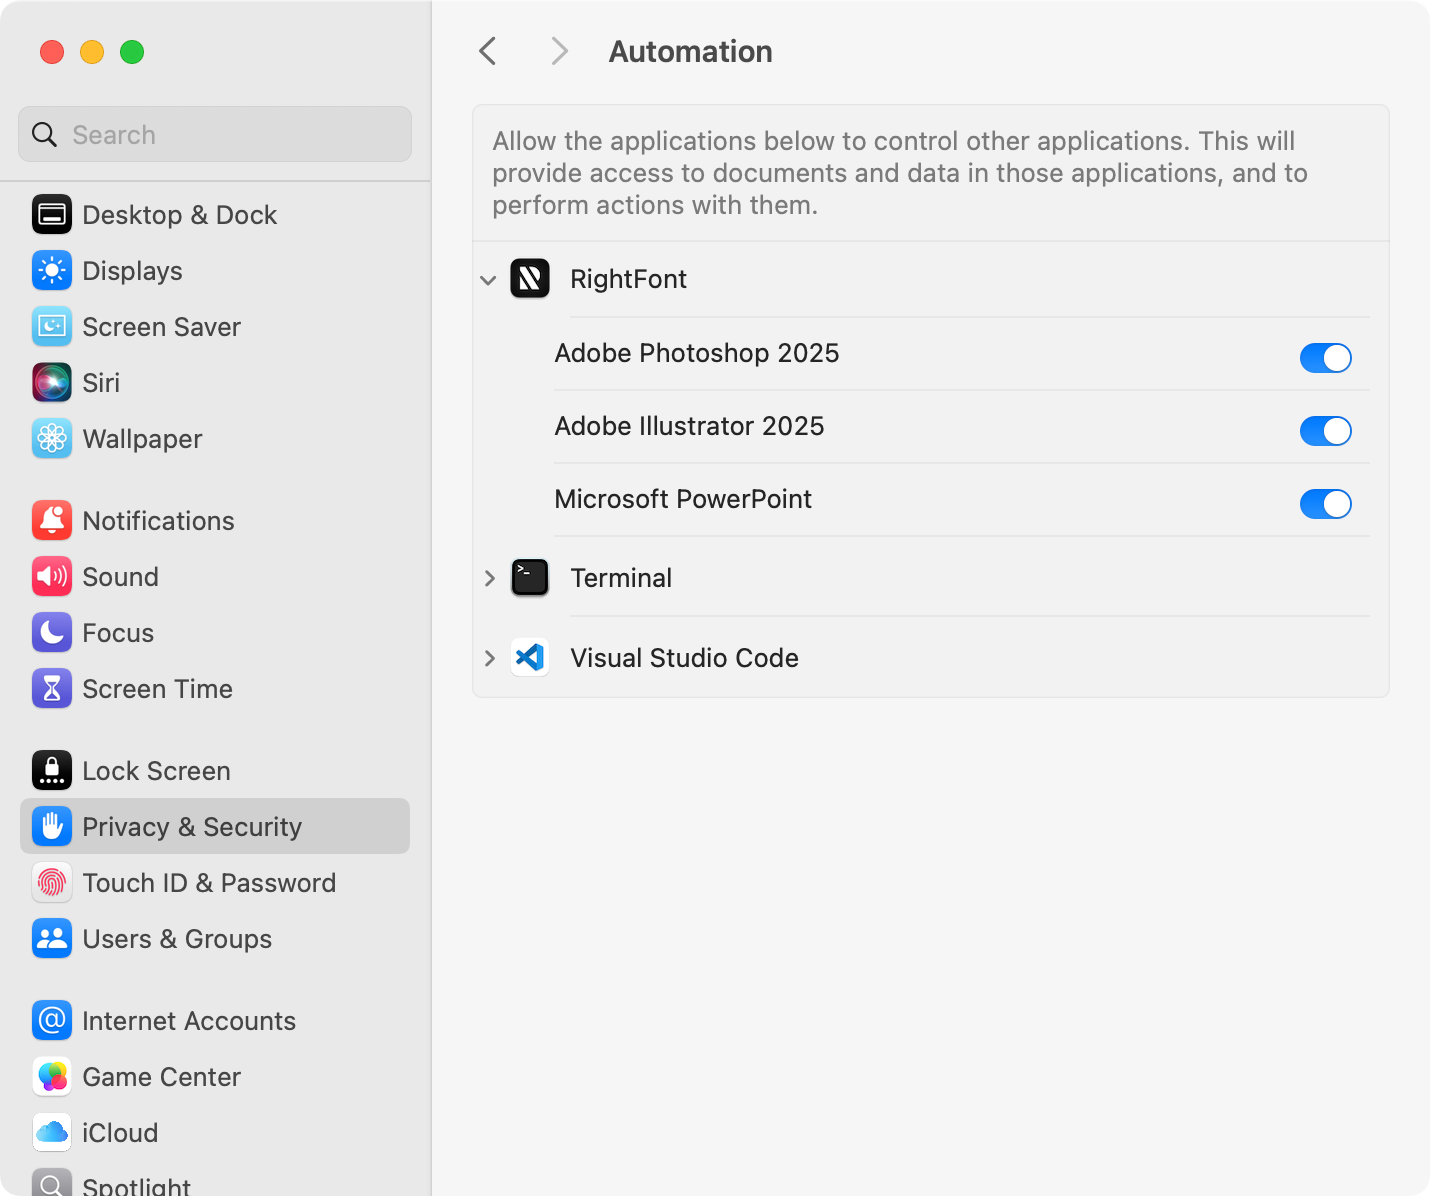
Due to automation control restrictions introduced in macOS Mojave and later versions, you may need to grant permission for RightFont to control apps like Photoshop, Illustrator, QuarkXPress, and others. If you encounter a dialog requesting permission, simply click the OK button to proceed.

In case you previously selected Don't Allow, don't worry—fixing it is straightforward.
Open System Settings on your Mac, navigate to Privacy & Security, then select the Automation. Ensure that all the apps under RightFont are checked. Click here to open it directly for you.